Track Alignment Decoded: Master Camber, Caster, and Toe for Maximum Grip
Written and reviewed by the CarCultureHQ Editorial Team. See our Editorial Policy for sourcing and corrections.
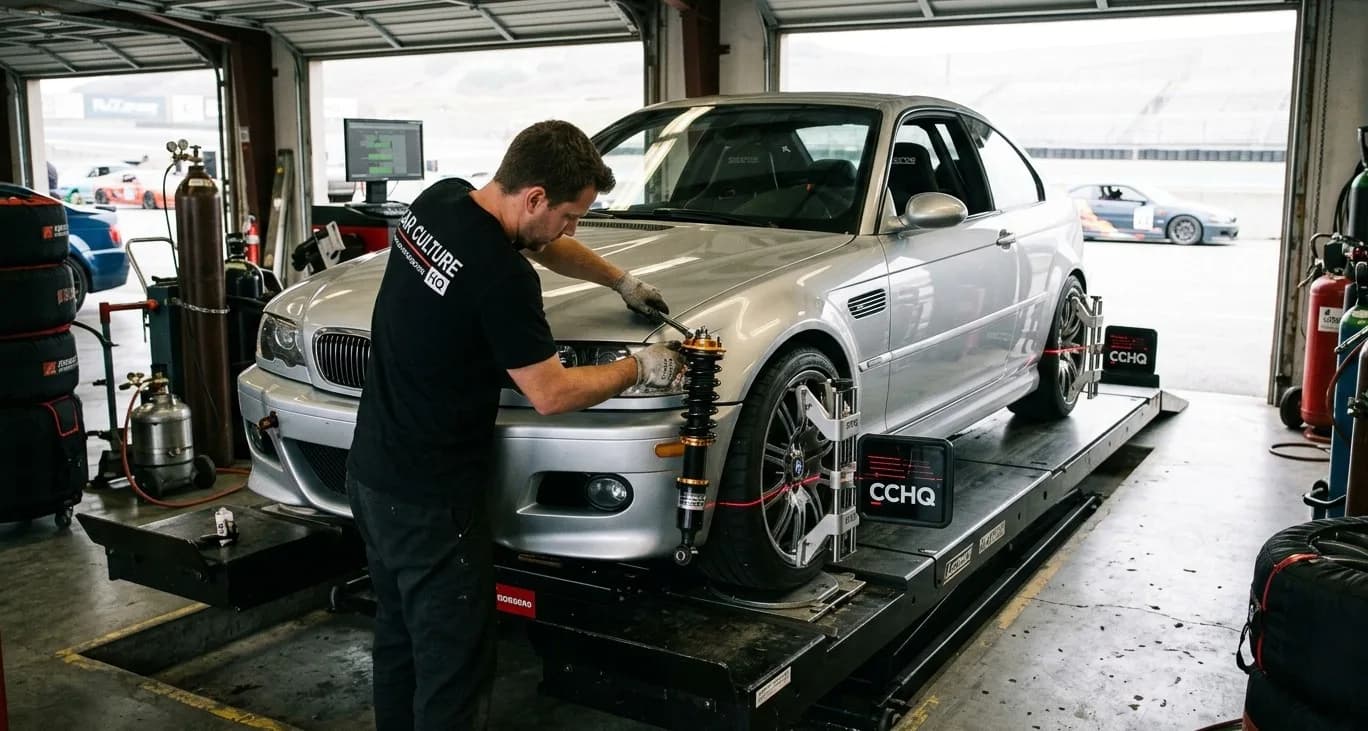
How Suspension Alignment Actually Works on Track: Camber, Caster, and Toe Explained
Read time: 8 minutes
Summary: Alignment specs on paper do not equal performance on asphalt. This guide breaks down how camber, caster, and toe interact dynamically under load, how to read tire wear patterns like a data logger, and how to dial in a track-ready setup for your specific vehicle platform.
Stop Setting Alignment Specs by Internet Consensus
Walk through the paddock at any open track day, and you will hear the exact same numbers thrown around like gospel: "Run negative three degrees up front, zero toe, call it a day."
Then you watch those same cars cook their front outer shoulders after two sessions, struggle with greasy mid-corner push, or wander violently across the pavement during hard straight-line braking.
Setting up a car for the track based on static forum alignment threads usually fails because suspension geometry is dynamic. When your car rolls into turn one at 90 mph, metal bushings deflect, control arms sweep through their physical arcs, and tire sidewalls deform. The static alignment numbers you set on a flat rack in a garage are just a starting reference point. What actually determines grip, lap times, and tire longevity is the dynamic contact patch under full cornering load.
Understanding how camber, caster, and toe work as an integrated mechanical system allows you to make precise adjustments based on real feedback from your tires and driver feel rather than guesswork.
Join CarCultureHQ
Claim your free digital garage
Build your ride profile, log modifications, join a crew, and get your build in front of thousands of enthusiasts.
Create your free garageCamber: Managing the Contact Patch Under Roll
Camber is the vertical angle of the wheel relative to the road surface when viewed directly from the front or rear of the car.
Negative Camber: The top of the tire leans inward toward the center of the chassis.
Positive Camber: The top of the tire leans outward away from the chassis.
On a road course, negative camber is essential. As the chassis rolls toward the outside of a corner, the suspension compresses and lateral forces push against the tire carcass. If you start with zero static camber, chassis roll forces the outside tire onto its outer shoulder, dramatically reducing the contact patch size and overheating the rubber.
Static negative camber compensates for this body roll, ensuring that when the car leans into a hard corner, the outside loaded tire flattens out, presenting its maximum possible surface area to the track surface.
The Trade-off: Cornering vs. Braking
Negative camber is always a compromise between lateral cornering grip and longitudinal traction for braking and acceleration.
Cornering: Higher negative camber improves ultimate lateral grip and mid-corner stability.
Braking: Heavy braking requires a flat contact patch to maximize longitudinal traction. Excessive static negative camber causes the tire to ride only on its inside edge when driving straight, increasing stopping distances and inducing lock-up or ABS intrusion.
Street vs. Track Target Ranges
Setup Type | Typical Front Camber | Typical Rear Camber | Notes |
|---|---|---|---|
Daily / Street | -0.5° to -1.2° | -0.5° to -1.0° | Prioritizes even tire wear and straight-line tracking. |
Dual-Duty Track | -2.0° to -2.8° | -1.5° to -2.2° | Balances track cornering with reasonable street tire life. |
Dedicated Race | -3.0° to -4.5°+ | -2.5° to -3.5° | Maximizes cornering speed; accelerated inside wear on straights. |
Caster: Free Dynamic Camber and Steering Feel
Caster is the angle of the steering axis relative to the vertical line when viewed from the side of the car. Think of a shopping cart wheel: the pivot point sits ahead of the tire contact point, forcing the wheel to follow straight behind it.
Positive Caster: The top steering pivot point (such as the top strut mount) tilts toward the rear of the car.
Negative Caster: The top steering pivot point tilts toward the front of the car (virtually never used in modern performance cars).
Positive caster provides two main mechanical advantages on track: dynamic camber gain and straight-line stability.
1. Dynamic Camber Gain
When you turn the steering wheel with positive caster, the geometry automatically cants the outside tire into additional negative camber while reducing negative camber on the inside tire. This gives you extra negative camber in slow-to-medium tight corners where you turn the wheel significantly, without requiring excessive static negative camber that would ruin straight-line heavy braking.
2. Steering Center and Mechanical Trail
Positive caster creates mechanical trail, which naturally forces the front wheels to self-center at high speeds. This produces clear mechanical steering feedback through the wheel, allowing you to feel available front tire grip as cornering load builds.
Practical Setup Tip: On MacPherson strut vehicles (like the BMW E46/E90/F80, Porsche Cayman/911, or Subaru WRX/BRZ), static camber is limited. Adding aftermarket caster/camber plates to increase positive caster helps recover missing dynamic camber in hairpin turns without destroying heavy straight-line braking stability.
Toe: Turn-In Response and High-Speed Stability
Toe describes the direction the tires point relative to the centerline of the vehicle when viewed directly from above.
Toe-In (Pigeon-Toed): The front edges of the tires point inward toward the chassis centerline.
Toe-Out: The front edges of the tires point outward away from the chassis centerline.
Zero Toe: The tires point perfectly parallel to each other.
While camber and caster dictate maximum available grip, toe dictates how instantly and predictably the vehicle responds to steering inputs.
Front Toe Dynamics
Front Toe-Out (1/16" to 1/8" total): Dramatically sharpens turn-in response. As you turn into a corner, the inside tire is already angled into the turn, pulling the front end into the apex immediately. The trade-off is high-speed straight-line nervousness and scrub drag on long straights.
Front Zero Toe: Ideal baseline for dual-duty cars. Excellent straight-line drag reduction and even tire wear with predictable, progressive steering response.
Rear Toe Dynamics
Rear Toe-In (1/16" to 3/16" total): Critical for rear-wheel-drive and high-powered all-wheel-drive cars. Rear toe-in keeps the back end planted under hard braking and prevents snap oversteer on corner entry and exit.
Rear Toe-Out: Dangerous on track for most drivers. It makes the rear end violently unstable during high-speed transitions and heavy braking. Keep rear toe-out reserved exclusively for low-speed autocross cars requiring rapid manual rotation.
How Alignment Angles Interact Under Load
Adjusting one alignment parameter in a vacuum usually destabilizes another. Understanding their mechanical relationships prevents setup frustration at the track.
Key Mechanical Interactions
Camber and Toe Interdependence: On almost all suspension designs (MacPherson strut, double wishbone, multi-link), adjusting camber moves the steering tie-rod mounting point, directly altering toe angle. Always adjust camber and caster first, then set toe last.
Caster vs. Static Camber balance: If your car platform allows generous positive caster increases, you can often run slightly less static negative camber. This preserves straight-line braking capability while retaining grip during tight corner entry.
Suspension Bushing Deflection: OEM rubber bushings flex significantly under heavy cornering or braking loads. A car set to zero toe statically on an alignment rack can easily deflect into total toe-out under heavy threshold braking, causing high-speed instability. Upgrading to stiffer polyurethane, monoball, or spherical suspension bearings holds static alignment settings under load.
Step-by-Step Track Tuning Framework
To dial in your suspension geometry systematically, follow this four-phase tuning workflow.
Step 1: Establish Your Baseline Alignment
Before hitting the track, set your alignment to a known baseline for your vehicle's drive layout:
Front-Wheel Drive (FWD): High front negative camber (-2.5° to -3.2°), zero to slight toe-out front, slight rear negative camber (-1.5°), zero rear toe.
Rear-Wheel Drive (RWD): Front negative camber (-2.2° to -3.0°), rear negative camber (-1.8° to -2.5°), zero front toe, 1/16" total rear toe-in.
All-Wheel Drive (AWD): Front negative camber (-2.5° to -3.5°), rear negative camber (-2.0° to -2.8°), zero front toe, slight rear toe-in.
Step 2: Read Your Tires with a Probe Pyrometer
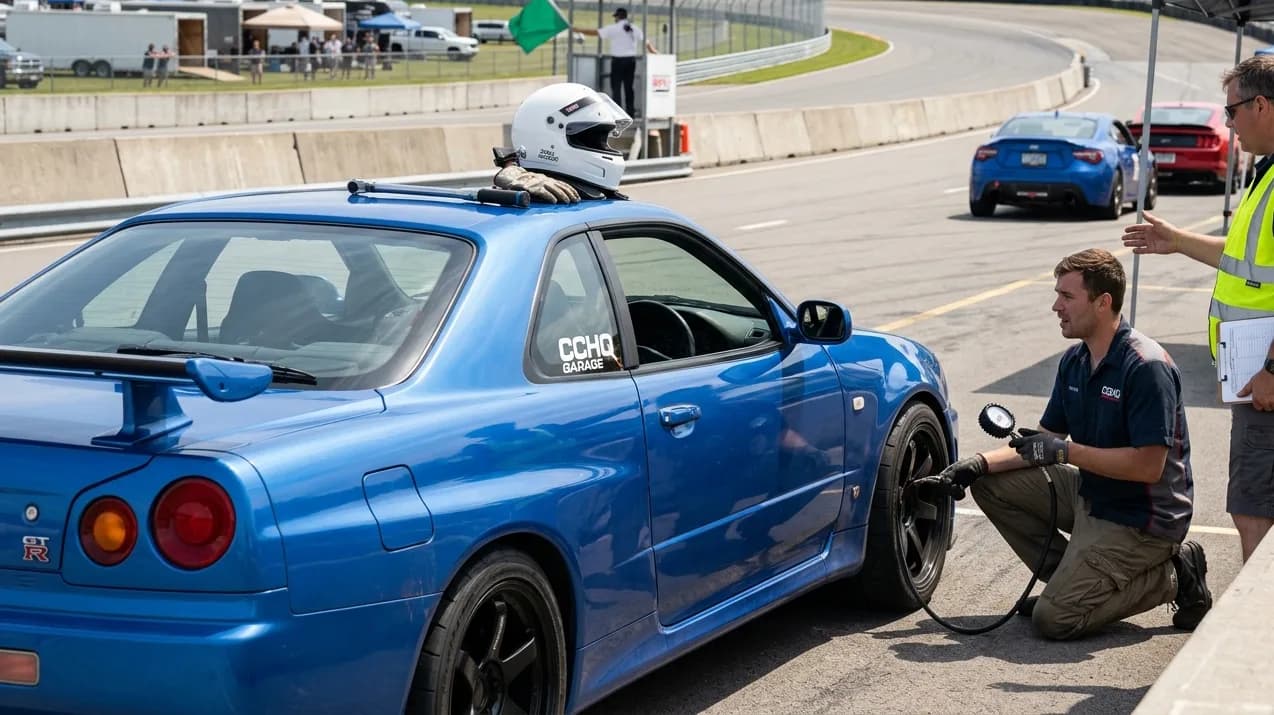
Visual tire wear shows long-term trends, but a needle-probe tire pyrometer provides real-time diagnostic data. Measure tire temperatures across the tread face immediately after pulling off the track into the hot pit lane:
Inside Shoulder (IN)
Center Tread (MID)
Outside Shoulder (OUT)
Step 3: Diagnose Pyrometer Readings
Target State: Inside temperature should ideally be 10°F to 15°F warmer than the outside temperature (due to static camber and straight-line rolling), with the middle temperature sitting directly halfway between them.
If OUT is significantly hotter than IN: You lack sufficient negative static camber or positive caster. The tire is rolling over onto its outer shoulder during cornering.
If IN is vastly hotter than OUT (25°F+ spread): You have excessive static negative camber for the layout, or excessive toe-in/toe-out scrubbing the tire across straights.
If MID is hotter than both IN and OUT: Tire inflation pressure is too high.
If MID is colder than both IN and OUT: Tire inflation pressure is too low.
Practical Checklist: Preparing Your Alignment for Track Day
Before taking your car to the track or alignment shop, review this setup checklist:
[ ] Verify Suspension Health: Check ball joints, tie rod ends, wheel bearings, and control arm bushings for play before setting alignment.
[ ] Set Tire Pressures First: Set cold baseline tire pressures before putting the car on the alignment rack.
[ ] Ballast the Driver Seat: Place weight equivalent to the driver's weight in the driver seat during alignment to account for corner-weight bias.
[ ] Check Ride Height and Corner Balance: Complete all ride height and corner balancing adjustments before performing the final alignment.
[ ] Lock Torque Specs: Double-check all cam bolts, lock nuts, and adjustable control arm jam nuts with a torque wrench.
[ ] Record Baseline Measurements: Keep a dedicated track notebook or digital log of static alignment specs, hot pressures, track ambient temp, and tire pyrometer readings.
Join CarCultureHQ
Claim your free digital garage
Build your ride profile, log modifications, join a crew, and get your build in front of thousands of enthusiasts.
Create your free garageFrequently asked questions
Can I drive my track alignment settings on the street every day?
Yes, but with trade-offs. Running aggressive negative camber (-2.5° or more) on the street accelerates wear on the inner edges of your tires during highway commuting. However, static toe causes far worse tire wear than negative camber. If you keep your toe angles close to zero, you can run moderate negative camber (-2.0° to -2.3°) on a street-driven car without destroying tires prematurely.
Why does my alignment change after a single track weekend?
Track driving subjects suspension components to massive lateral, braking, and curb-striking loads. Factory alignment eccentric cam bolts are notorious for slipping under track conditions. Upgrading to locking eccentric eliminate plates, aftermarket toe arms with locking pinch bolts, or monoball control arms prevents hardware movement under load.
Should I adjust toe or camber first when tuning my suspension?
Always adjust camber and caster first. On almost all suspension geometries, changing camber alters the position of the steering knuckle relative to the rack, changing your toe reading. Setting toe first and then adjusting camber requires re-adjusting toe again.




Comments
Join the conversation on Track Alignment Decoded: Master Camber, Caster, and Toe for Maximum Grip. Keep it civil — admins moderate reports.
Loading comments…